Click the link provided above and you will be brought here:

==============
You can choose any of the existing badges if you'd like, but you also have an option to create your own. Click on ' CREATE A PICBADGE' at the top of the window, and you will see this...

All your work will be done here. On the left are your controls. As you can see below..
Pretty self explanatory really..
1. Use this to upload any image you'd like to use on your badge.
2. Select the shape of your badge...
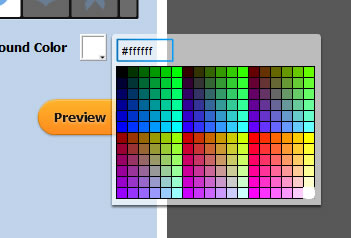
3. Select the colour you want for the background.
4. Preview your badge when you're done.
So go ahead and select the image you want to use.
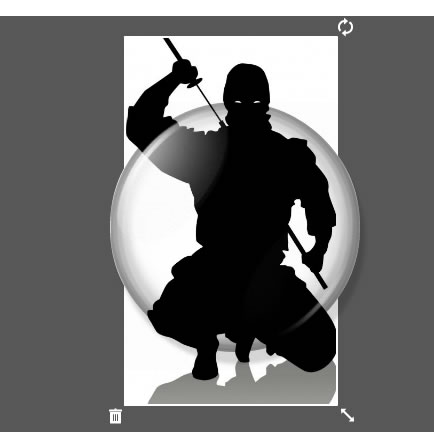
Your chosen image will appear and be overlayed on top of the blank badge you have on screen. You will see controls with it to allow you to resize or rotate your image or dump it if you don't want to work with it and choose another, you can also drag it anywhere you like. In my case, the image is fine, just too big, so I resized it to fit the way I want it to, by clicking and holding the double headed arrow on the lower right corner of the image and dragging towards it's centre.

Here, you can see I have resized my image now and dragged it slightly to get it into the position I want.
When you're done, click PREVIEW to see how your badge would look in place.
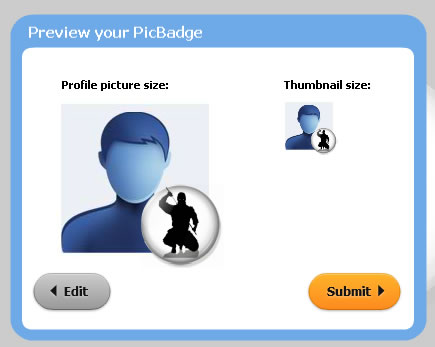
If you're happy with your work click SUBMIT, otherwise EDIT to continue working with your masterpiece. When you click submit you will be taken to a form you need to fill in to have your badge finalised and published for use on your profile.
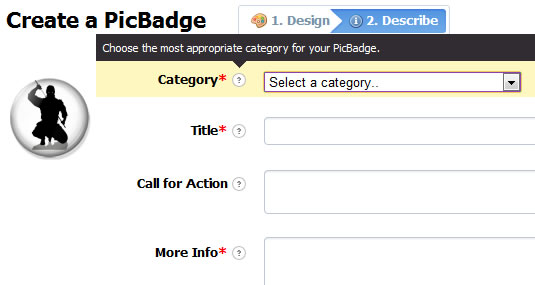
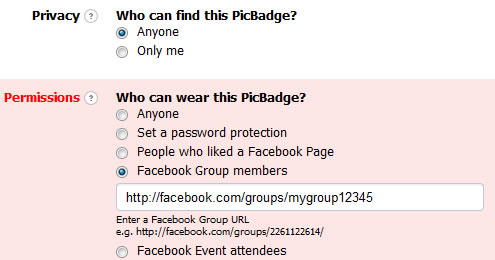
Fill out the form, you won't need to fill in all the fields, and each field has an explanatory note when you select them. A couple of them are mandatory though.
If you want to allow anyone to have the opportunity to choose and wear your badge then make sure you select 'Anyone' in the 'Privacy' section as shown below. Also, if you just want other group members to be able to use your badge, then select 'Facebook Group members'. If this option is chosen, you will need your groups link or URL. You should be able to copy and paste it in the field provided.
Please note however, that if your group is a secret group, this option will not work for you.
As soon as you click on 'PUBLISH' at the end of the form, your picbadge page will load and you will probably get a pop up window giving you the option to invite your friends to wear your new badge. You may or may not want to do this, entirely your preference. As I only want the badge for use on my profile pic primarily, I'll be skipping that.
Close this window and you may see yet another pop up window, asshown below, trying to get you to part with your money. Up to you if you do or not.
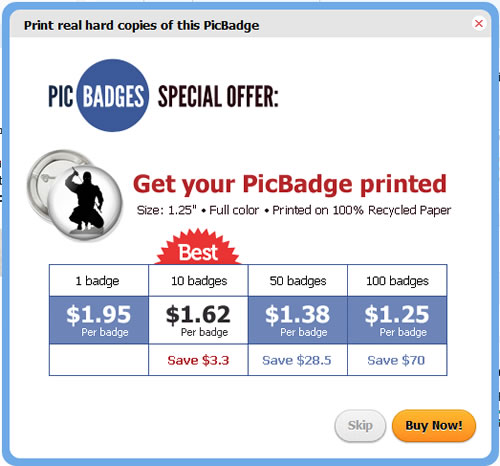
Needless to say I closed this window too!
Now, we are faced with another popup window giving you 4 options - basically, these are various ways to market and promote your badge. I closed that too, but you may want to choose one of those options yourself depending on your preferences.
OPTION 1

Giving you the option to add your badge to your facebbok and/or Twitter profiles
OPTION 2
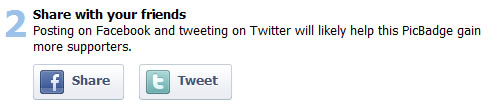
Giving you a way to promote your badge on Facebook or Twitter
OPTION 3
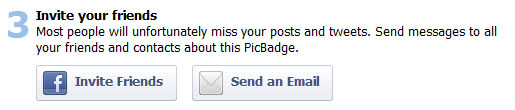
Another way to promote your badge by spamming your friends everywhere!! Nice...
OPTION 4
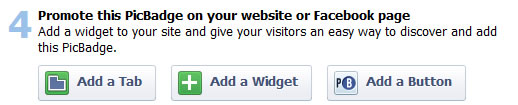
I'm not too clear on what the benefit of this option would be to me, other than promoting Picbadge itself, but the options are all there...
Once you close this window, you will at last be faced with your badge page!
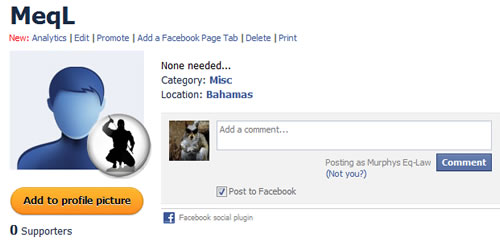
To add the new badge to our profile pic the 'Add to Profile Picture' button was clicked to activate another popup window in which we can choose which profile pic we want to add the badge to.

Select the pic you want. Remember that you can drag both your pic and the badge to where you want them to be, as well as scaling your profile pic to suit you, as I have done below.
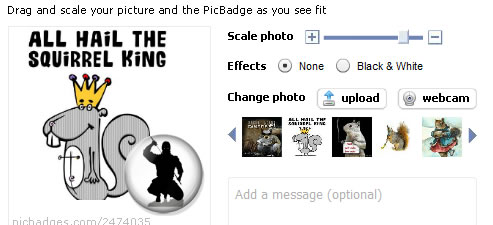
As you can see, I have moved my chosen profile pic over to the left a little, reduced it's size by using the 'Scale photo' slider at the top right, and moved my badge more to the right corner. That's fine for me.
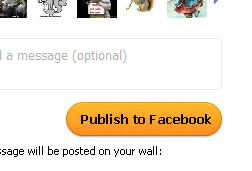 |
Now that's done, and I'm happy with it, I can publish it by clicking the 'Publish to Facebook' button. This does as it says on the tin, loading your profile pic complete with badge to your Facebook wall.
Job done! |